
Breakdown
HOUDINI
I knew I wanted to create some sort of flower. I sought out to research various different flower shapes and forms so that I could build a base. What I did end up basing my flower on was the fibonacci spiral. That way I could make a flower that looks natural and had a starting point to go off on. The fibonacci sequence in mathematical terms is a sequence of numbers starting with 0 and 1, that increases and each number is equal to the sum of the previous two numbers.
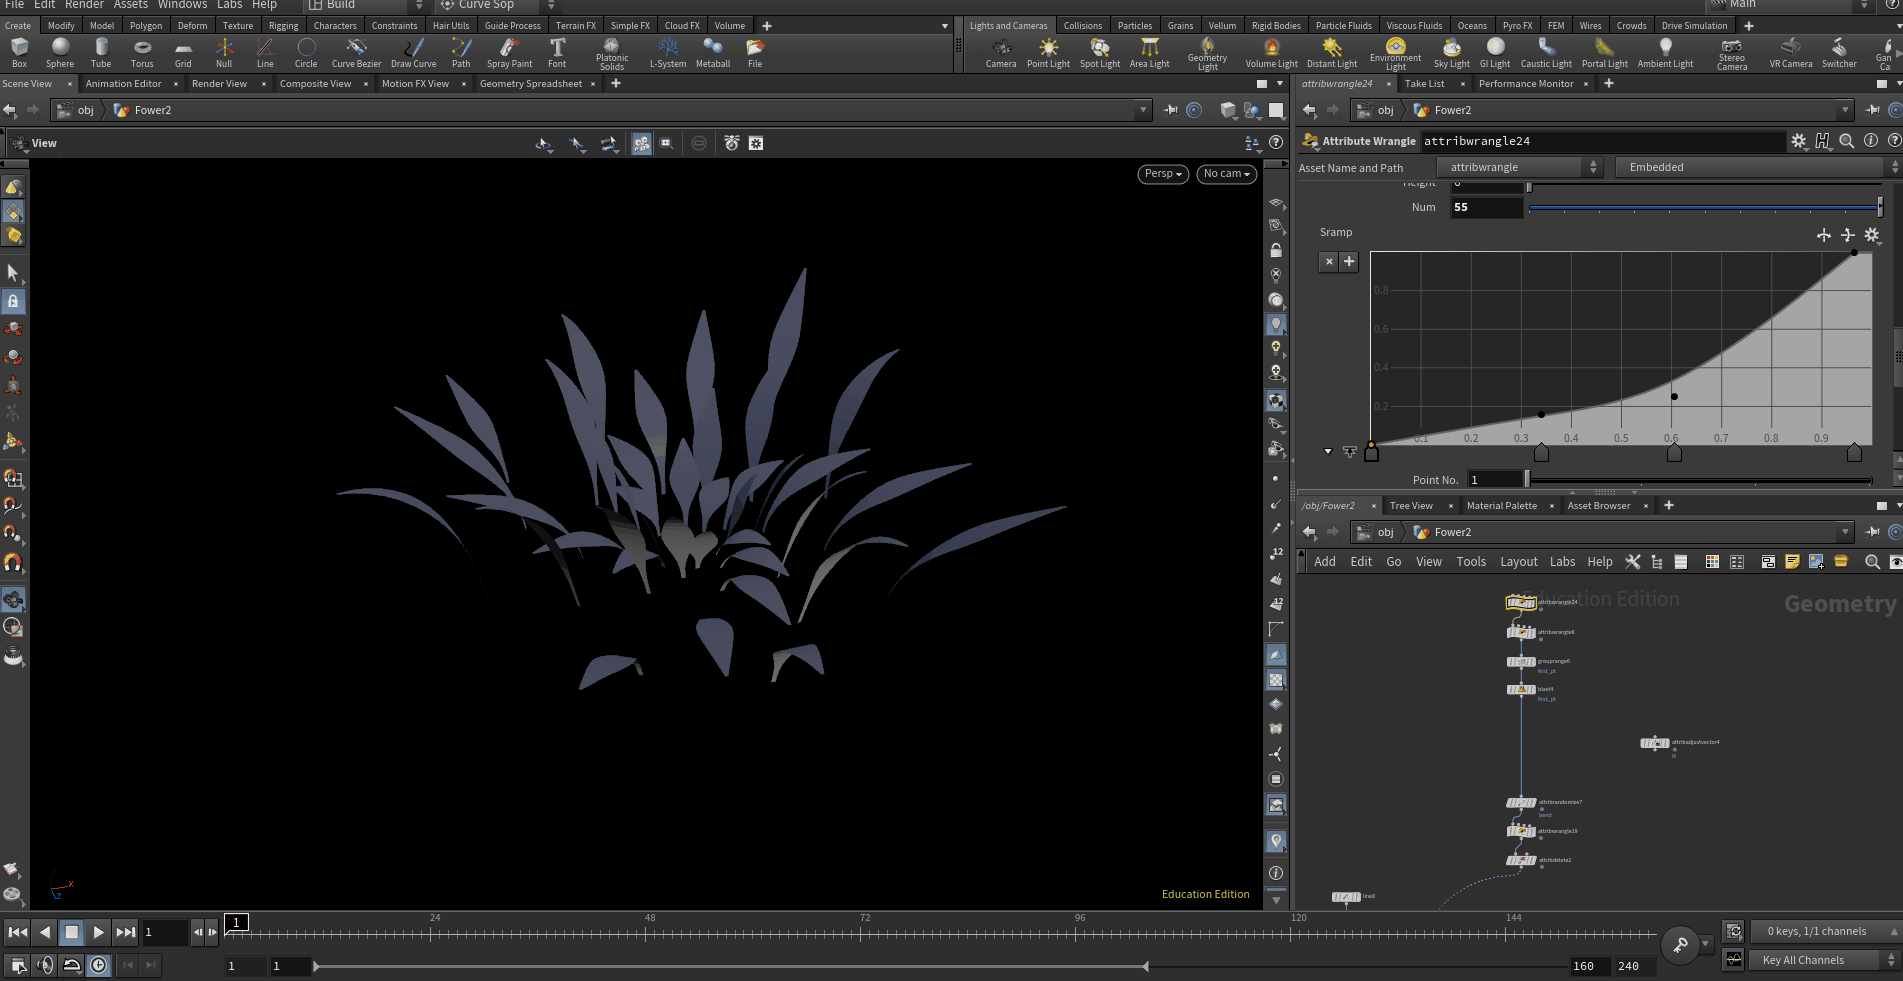
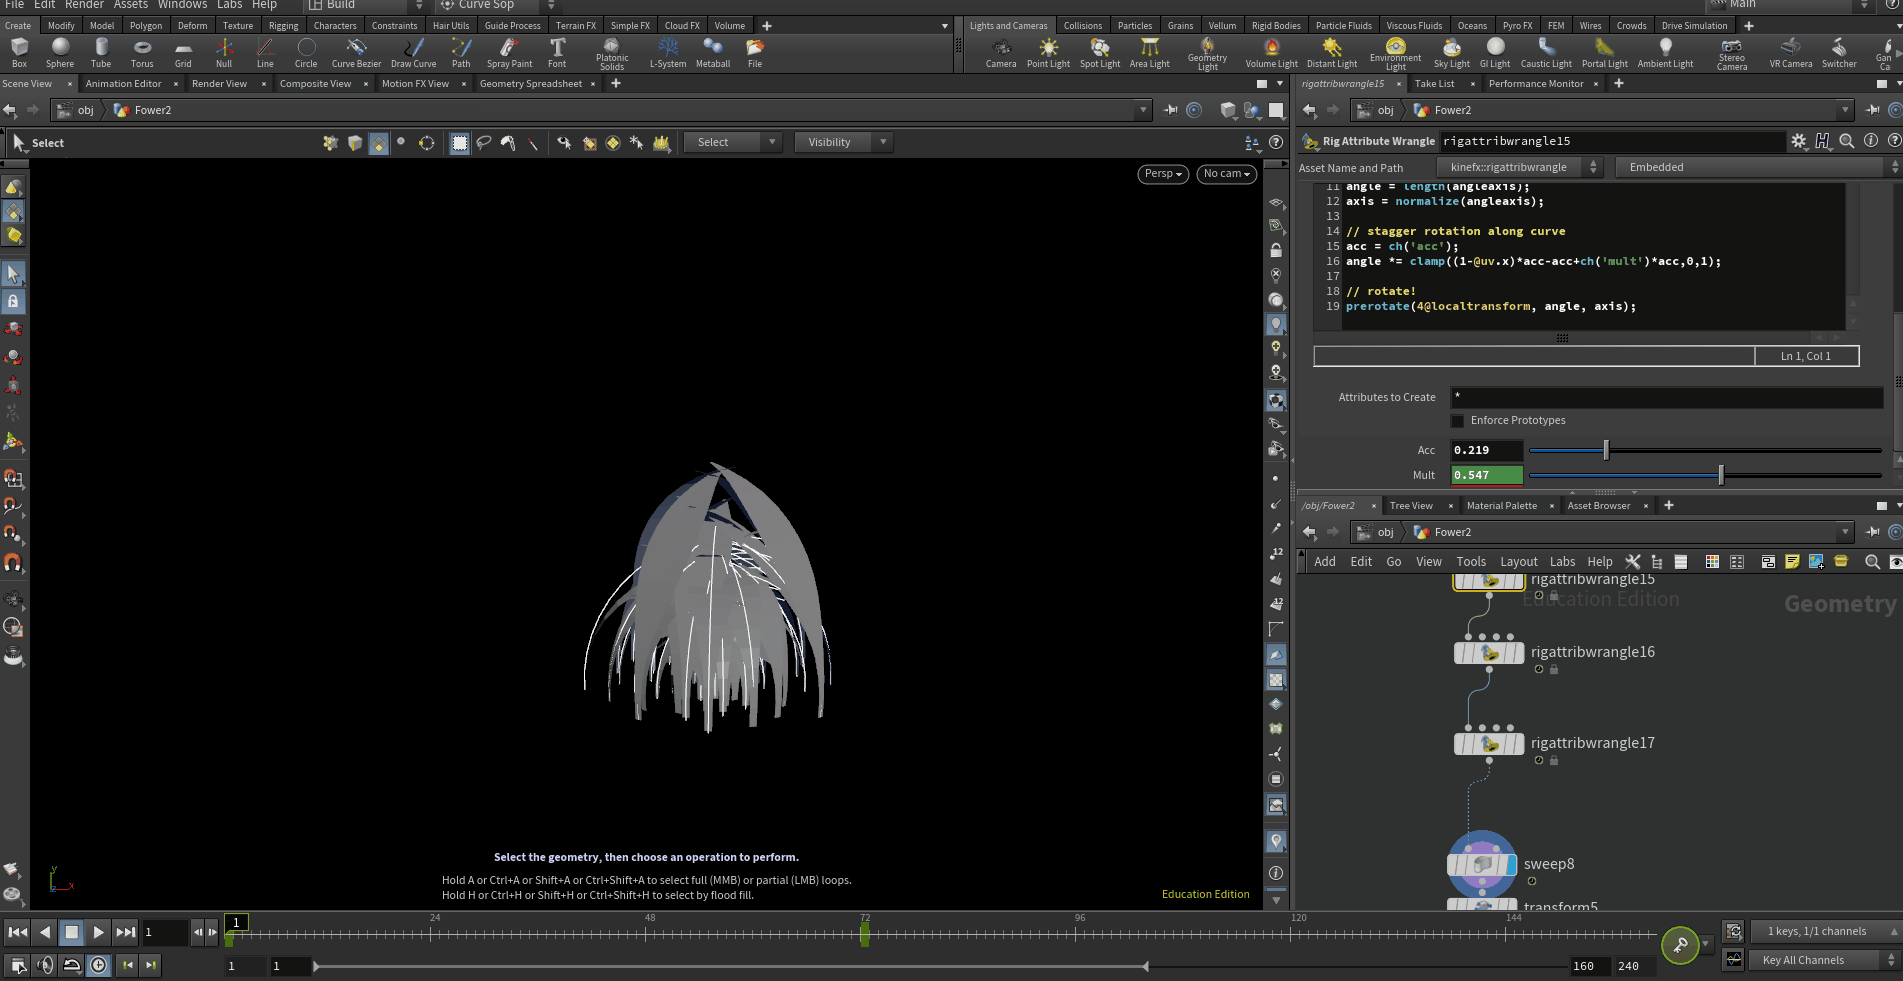
I created a curve that got copied on each point on the fibonacci spiral. I decided to use KineFX as it's made for procedural rigging and allows me to animate the rig using Vex and attributes. Instead of creating a keyframe animation by hand I instead used a rig wrangle. This allows me to directly animate the rig using vex. This way I can add random noise to the curves but still be able to have control.
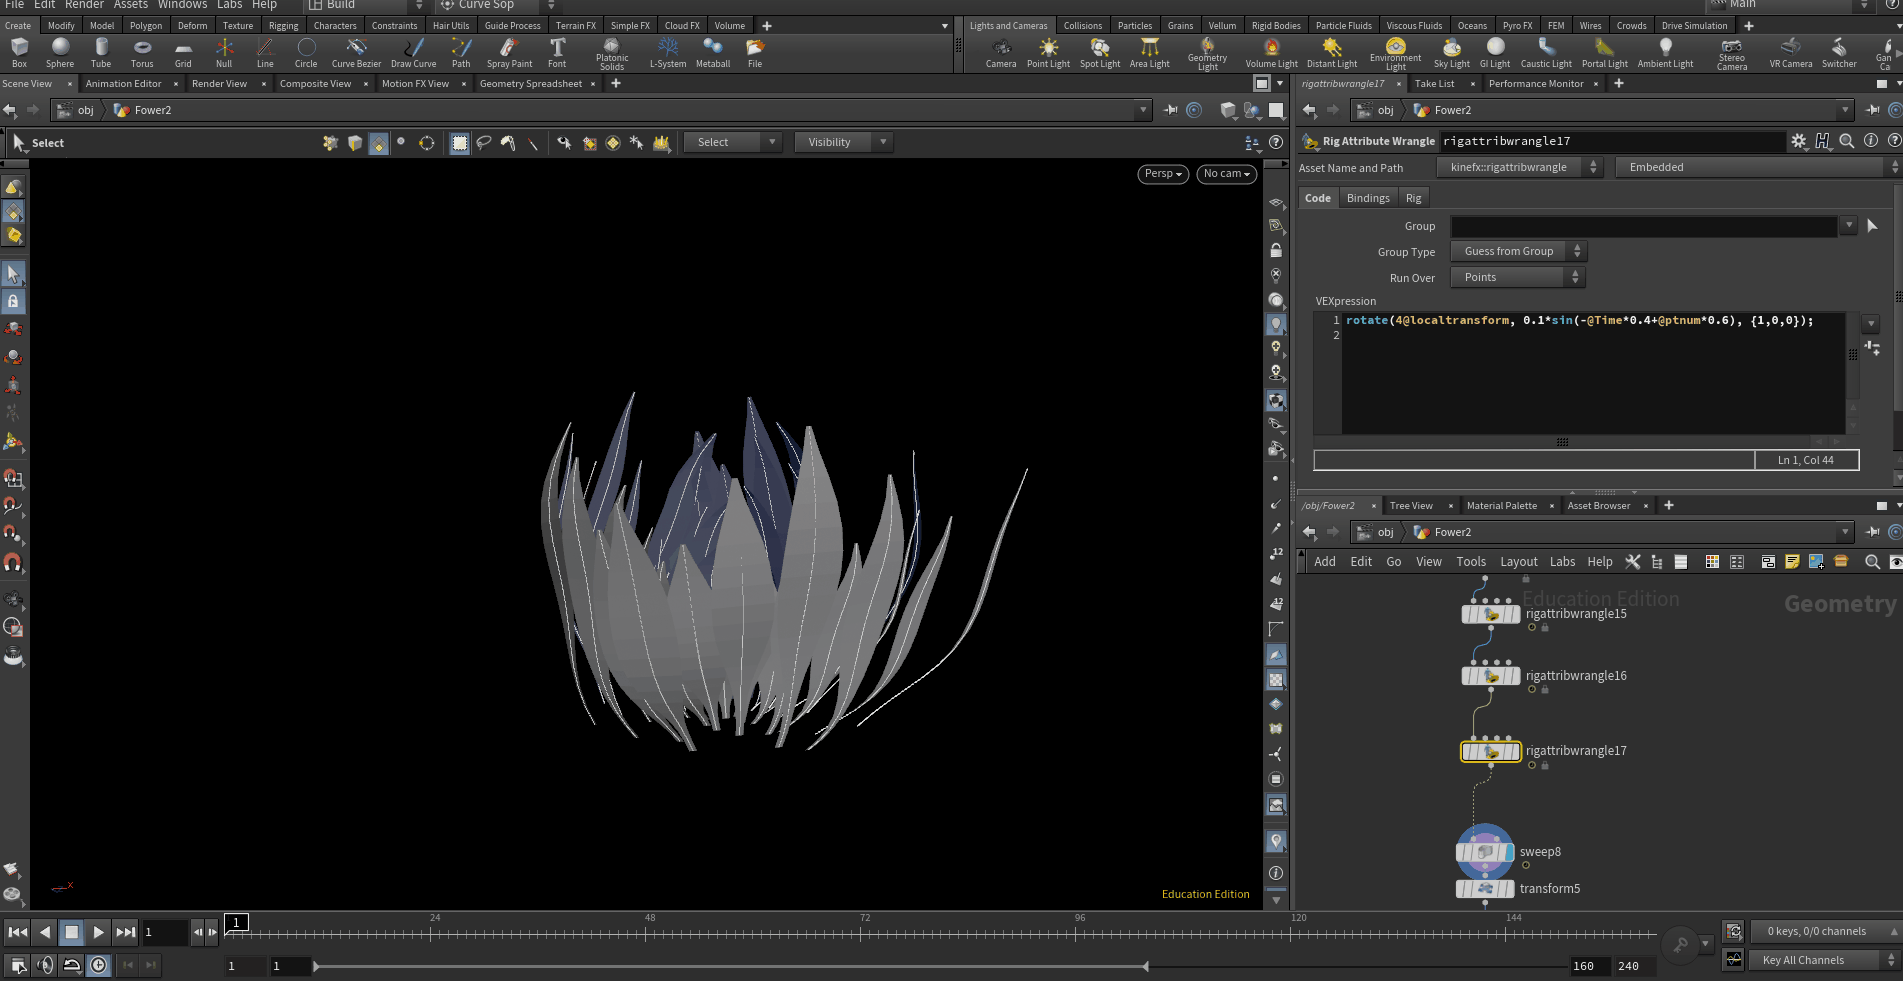
I created procedural noise with a rig wrangle using this code “rotate(4@localtransform, 0.07*sin(-@Time*0.1+@ptnum*0.1), {1,0,0});”
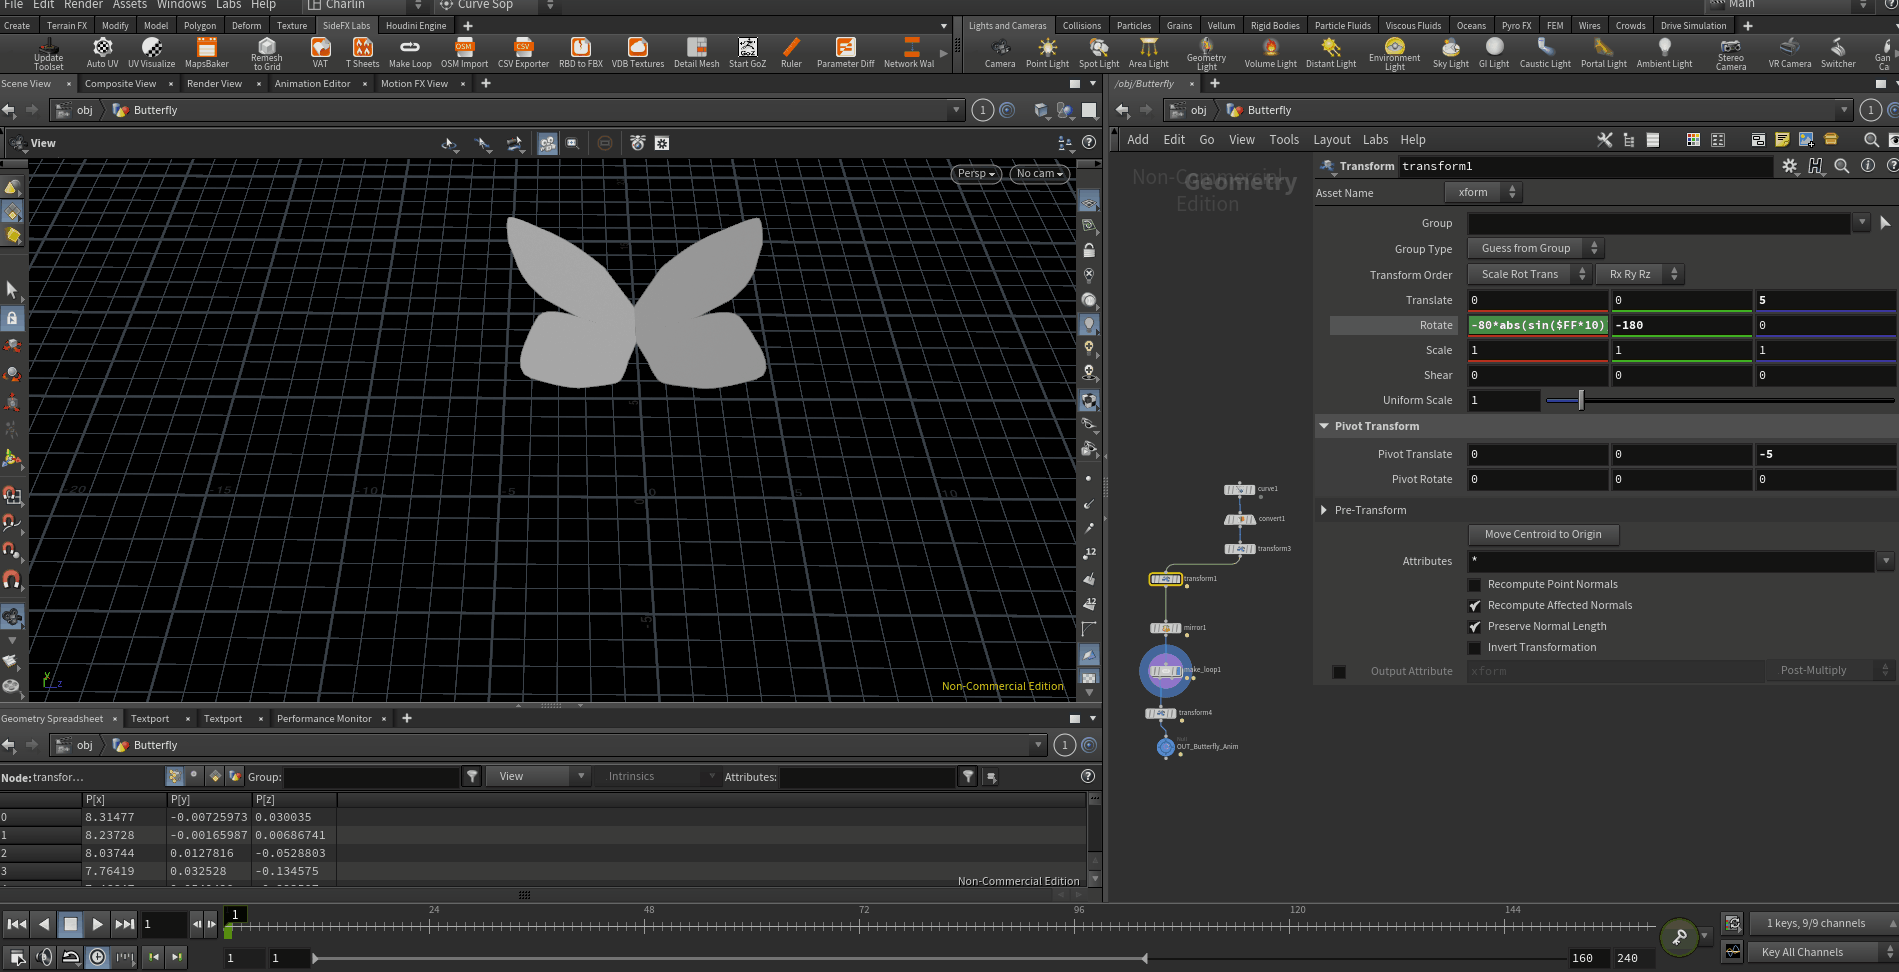
I also created a butterfly fluttering animation that I wanted to make into a VAT. I had a different approach as I didn't think it was necessary to rig the butterfly. Instead I used houdini expressions to control the wings using this expression “-80*abs(sin($FF*10))*abs(cos($FF*12))”
vertices

Frames
Once I was happy with my animations it was time to export them. But first I'd like to briefly explain what vertex animation textures (VAT’s) actually are. VAT is the process of baking a meshes animation into a texture. For each vertex a vector3 is created and stores the local space position/rotation (x,y,z) in a matrix. This information is being created for every vertex per frame.
In this slide you can see the variations in size of the texture depending if it's the flower or butterfly VAT. The reason they are so diverse is due to the frame difference. The flower has a much longer animation than the butterfly, thus creating a longer texture.


This is how my final iteration of the network in houdini of the flower looked like.
Breakdown
UNREAL

When it came to setting up the blueprint in unreal, SideFX had made a guide on VAT’s. I read through it and then adjusted it according to my needs. I mostly created custom events so that I had full control over the blueprint. As well for modularity for fast prototyping.
I controlled the flowers animation with a timeline node, this way the speed can be changed more flexibly. This sparked the idea of utilizing the same method to make the flower change color as the player approached the flower.
Displayed in this image are the outputs of my blueprints and how I ended up using my custom events.


In my niagara system I utilized the timeline again to control the animations of the flowers and butterflies. I wanted to add some small details to make it more visually interesting for the player, without taking away too much attention from the player.


Conclusion
I learned a lot doing this project. There are a lot of aspects I'm happy with, but there are also a lot that I would've changed. Making something that's procedurally rigged should be a whole project by itself. A substantial amount of time went into researching houdini Kinefx and procedural rigging. There is so much to learn and a hundred different ways of doing things in houdini. I’ve gained more confidence using the program during this project and I’ve overcome my fear of dwelling with houdini VEX.
The skybox used in unreal was a blueprint called Good Sky by Uneasy Game Dev - Blueprints on Epic Games.